Getting Started with PSOC6
In this post you’ll get to know how to setup the development environment for #PSOC6 from Infineon and execute the “Hello world” program.
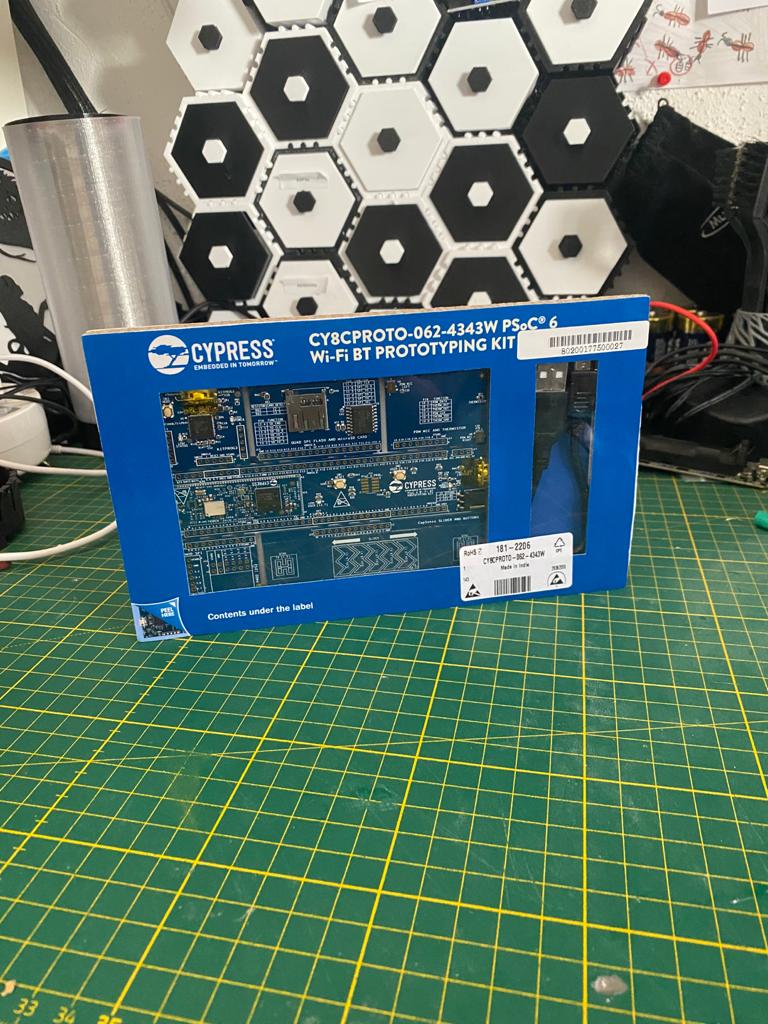
What is PSOC6?
Before we start, let me quickly introduce you what PSOC6 is and what is used for.According to Infineon, the PSoC 6 family is built on an ultra-low-power architecture, and the MCUs feature low-power design techniques to extend battery life up to a full week for battery powered applications. The low power consumption makes the MCU interesting for gathering sensor data and many more applications. Normally in my projects I am using the Espressif MCUs. However, in the upcoming monthS, I’ll build also some use cases with PSOC6 and compare the architectures. For more information about PSOC6, you can visit this page.
What hardware do you need?
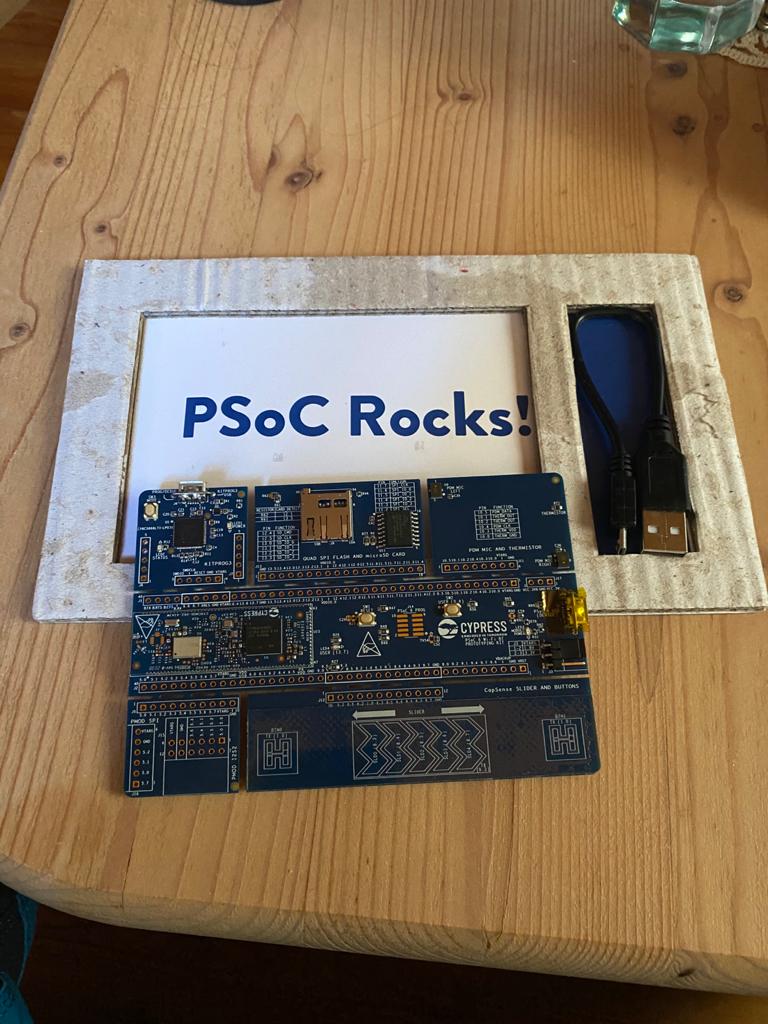
- PSOC 6 WiFi BT Protoyping Kit CY8CPROTO-062-4343W for around 30 €. I bought this from RS components - here
- A notebook or PC to install the drivers and the Modus Toolbox for programming the MCUs
Installation of Modus Toolbox
- open a browser and navigate to www.cypress.com/CY8CPROTO-062-4343W
- download the Modus Toolbox software
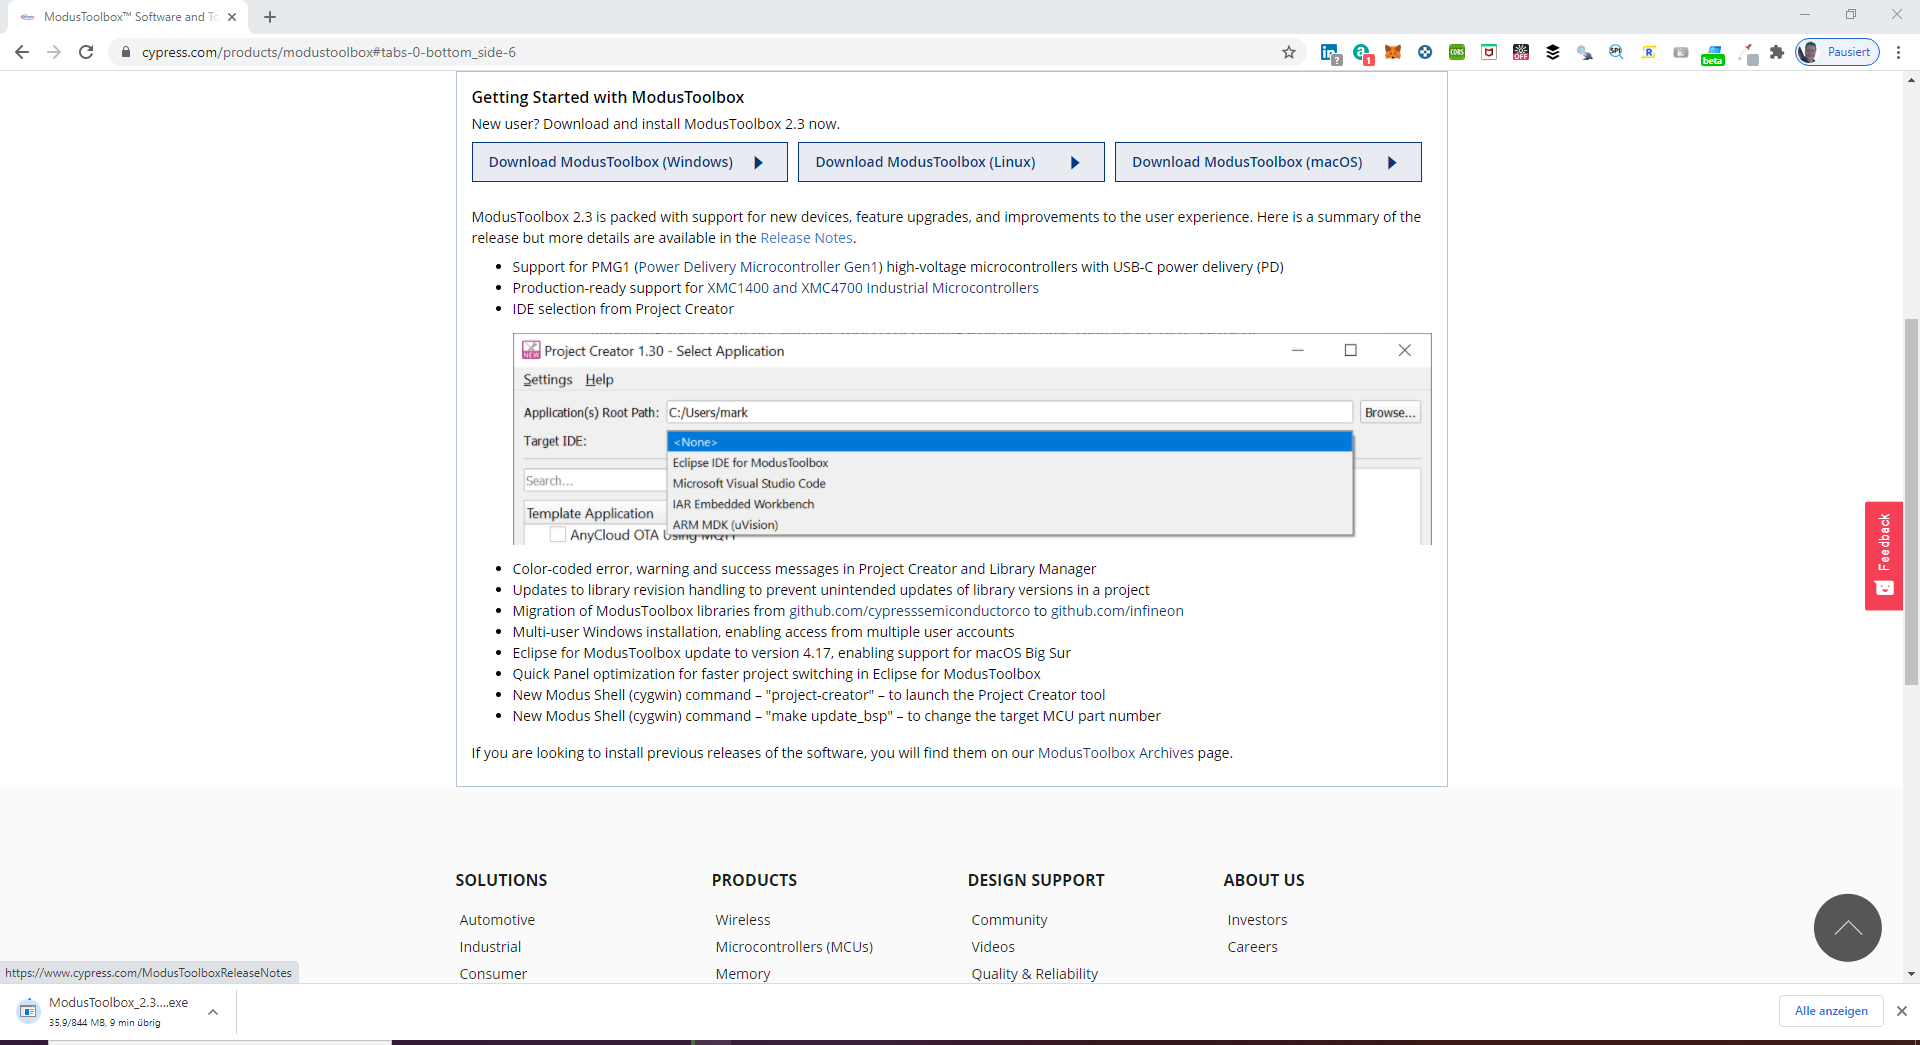
- Register of you do not have an account
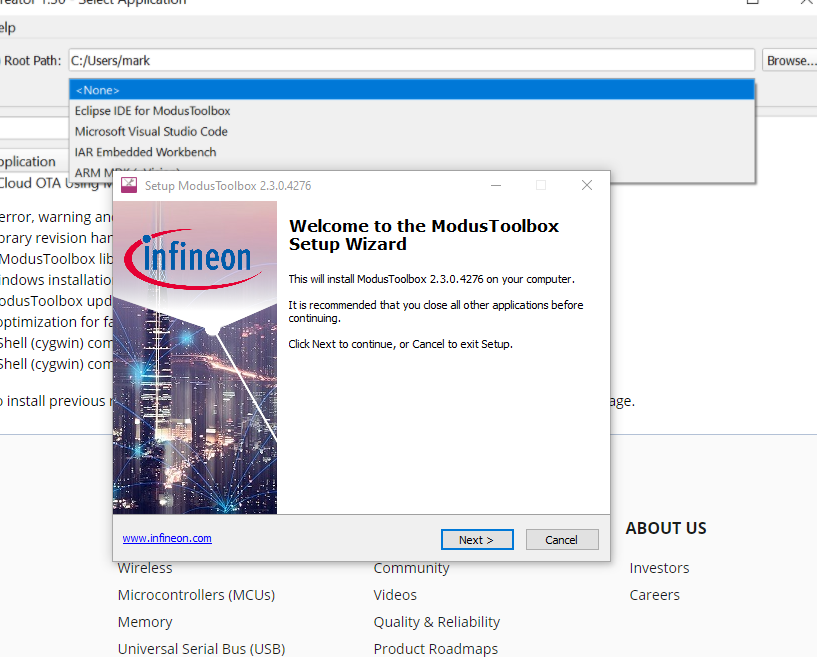
- Start installation, follow the installation steps and then restart your PC
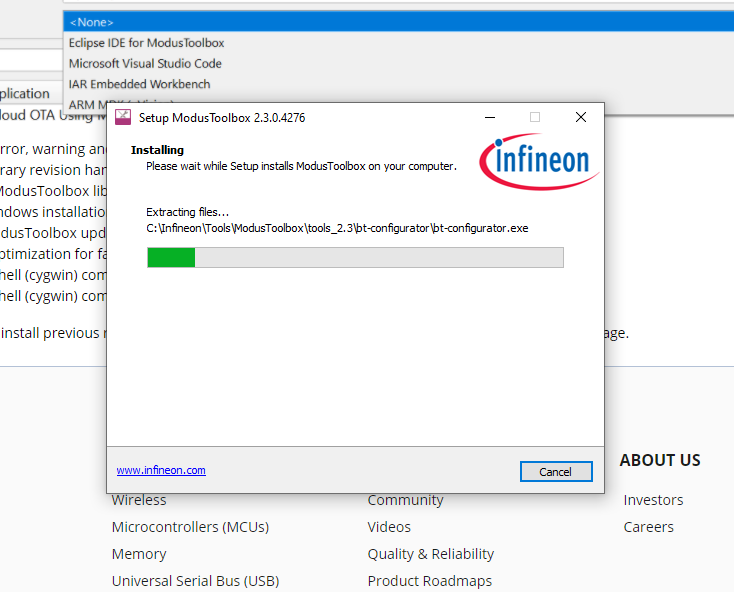
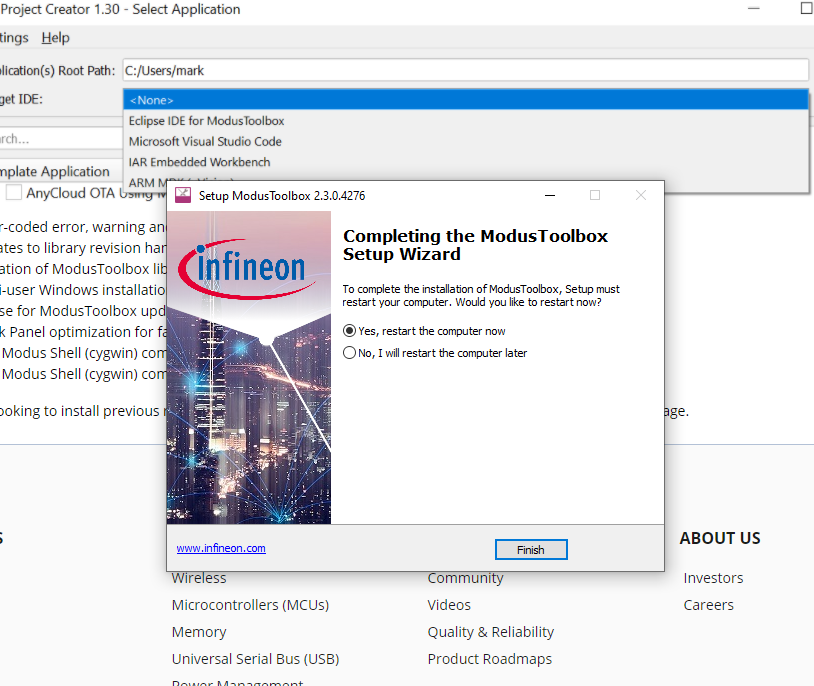
Connect the PSOC6 and start the “Hello World” programm
- Ensure that jumper J3 is at position 2-3 to select 3.3V
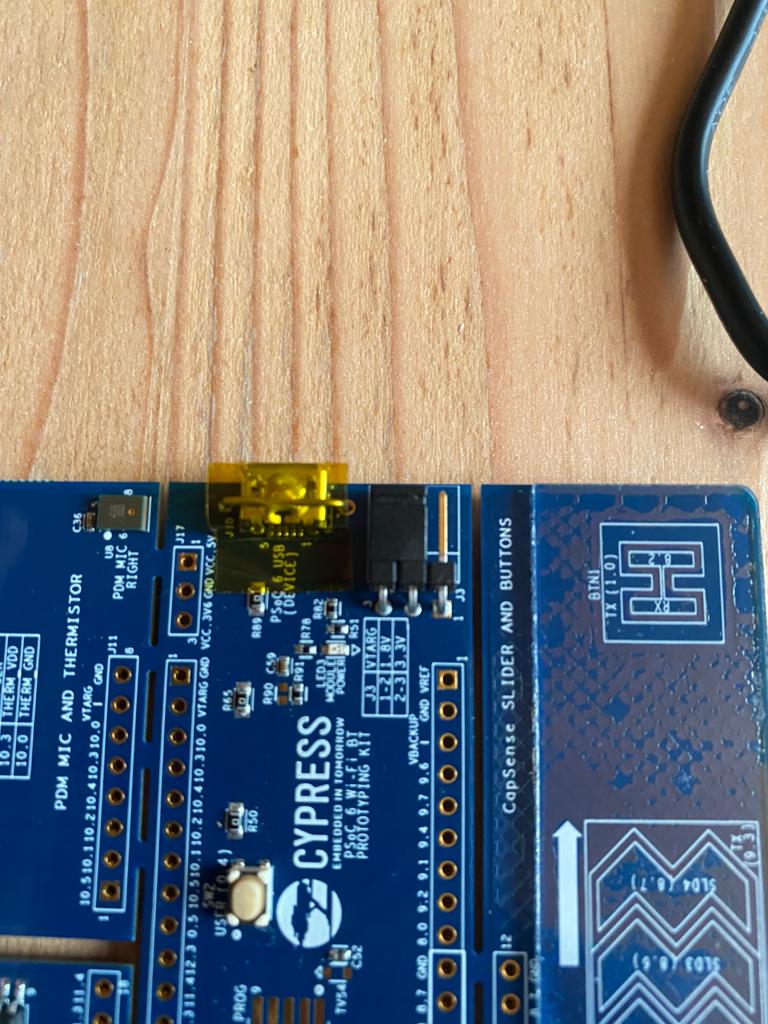
- Connect the protoyping kit with the PC
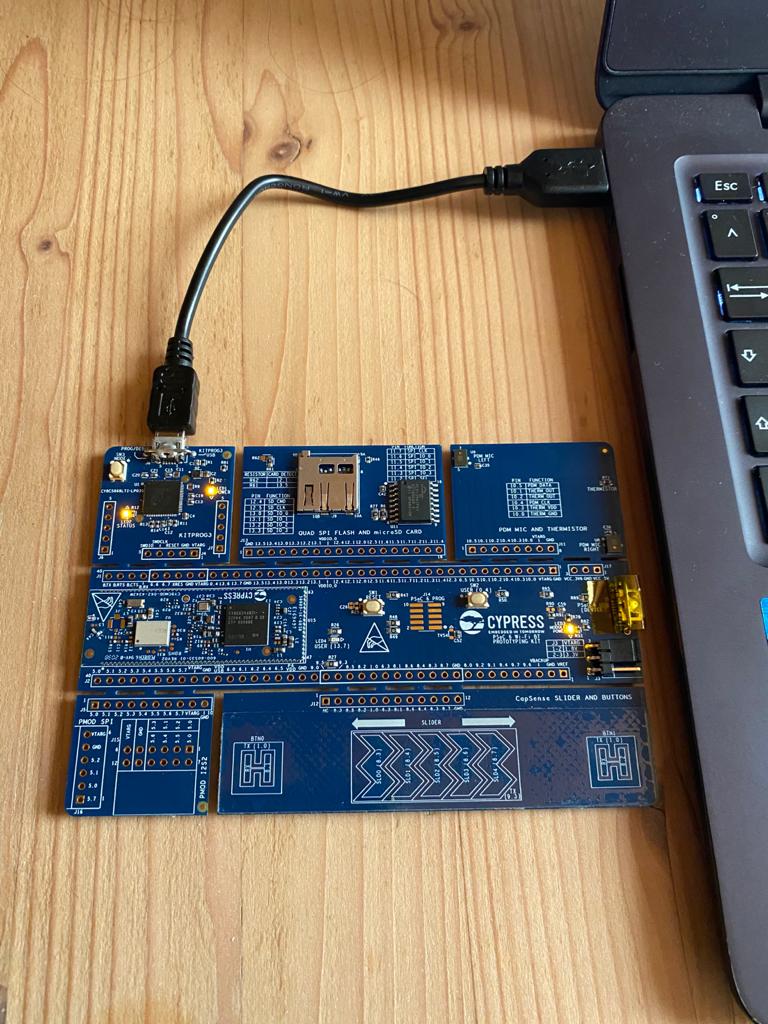
- Wait until the driver is installed
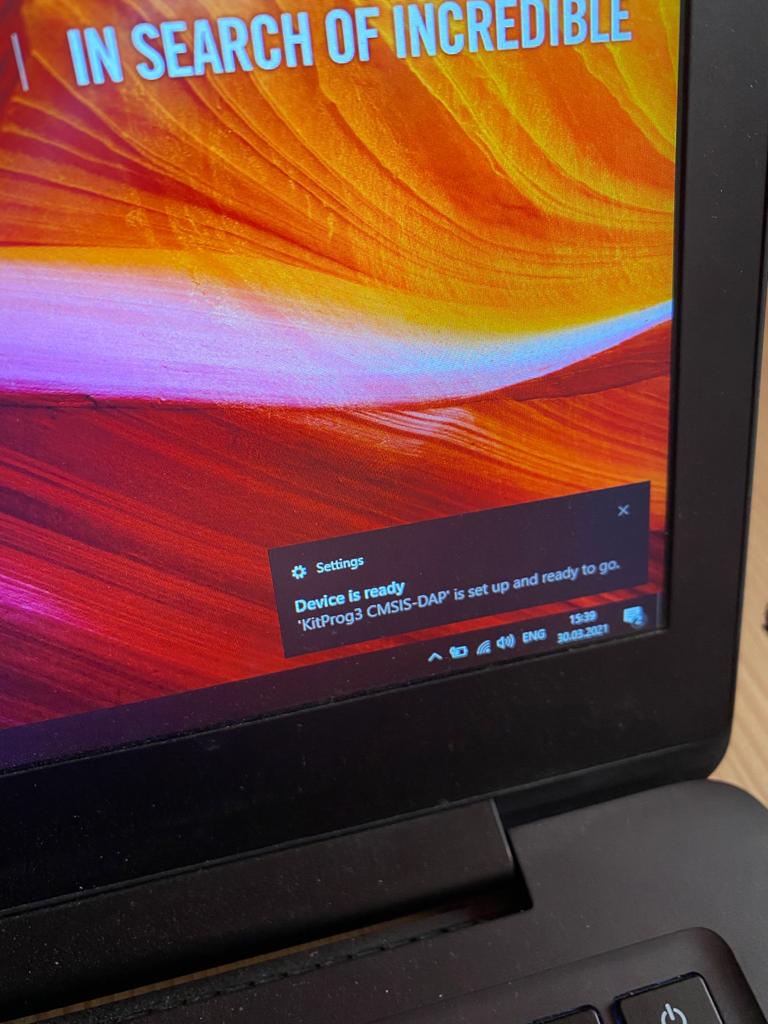
- Check the COM port in the Device Manager
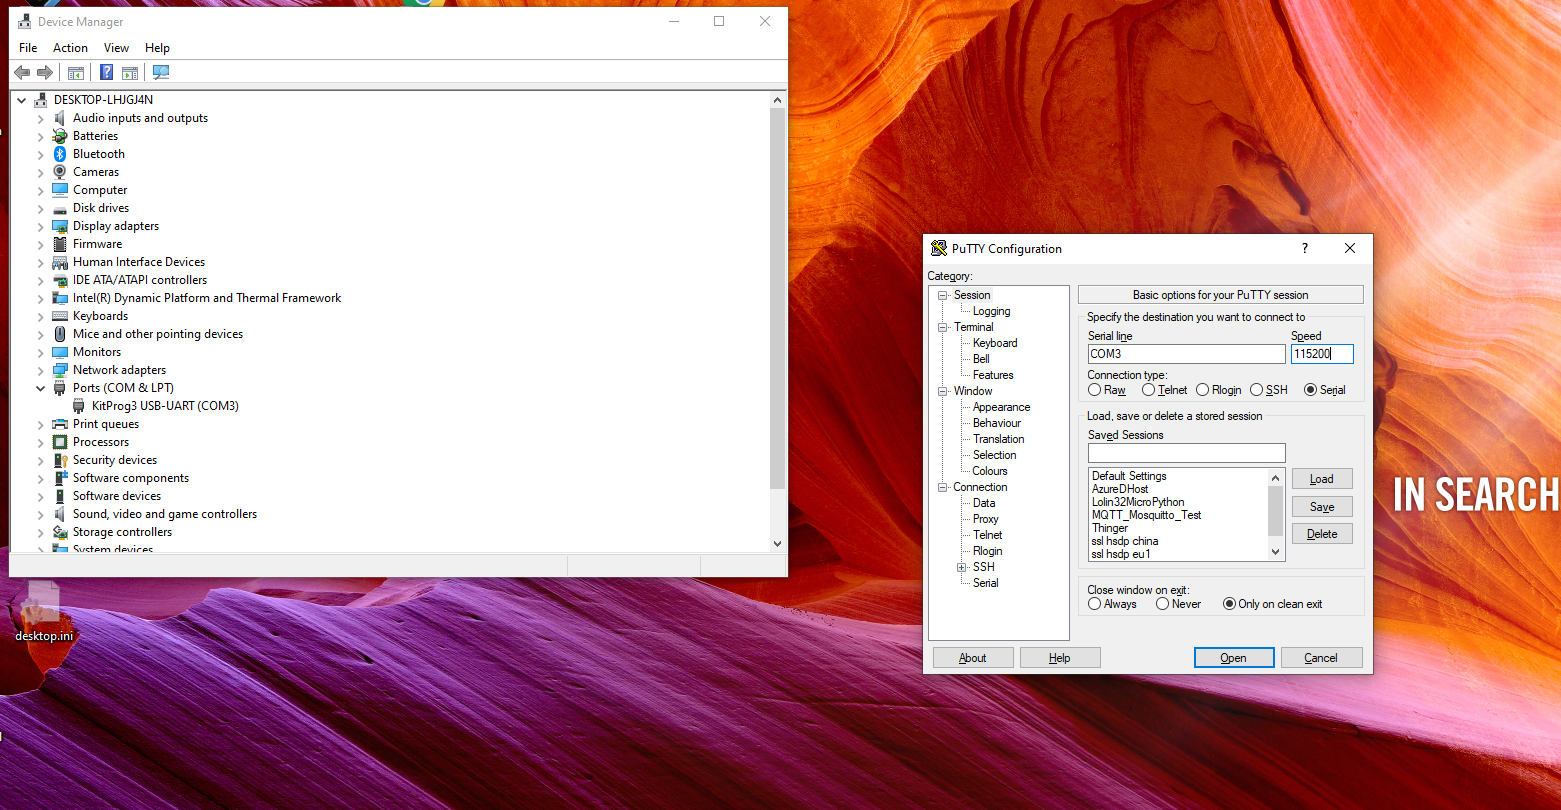
- Open a terminal programm, like e.g. Putty
- Connect to the COM port with baud rate of 115200
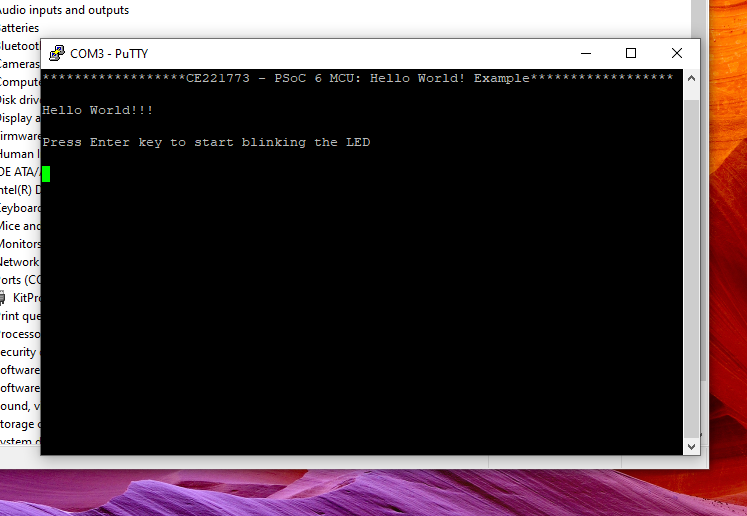
- Press Switch 1
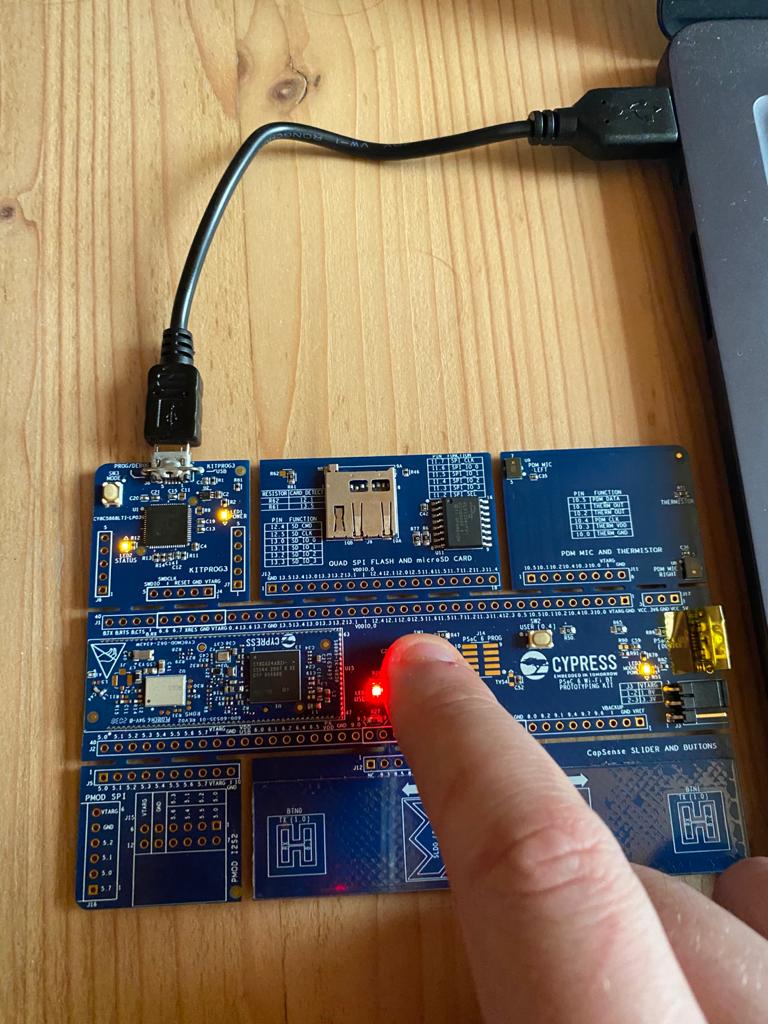
- Press Enter and see the port LED blinking
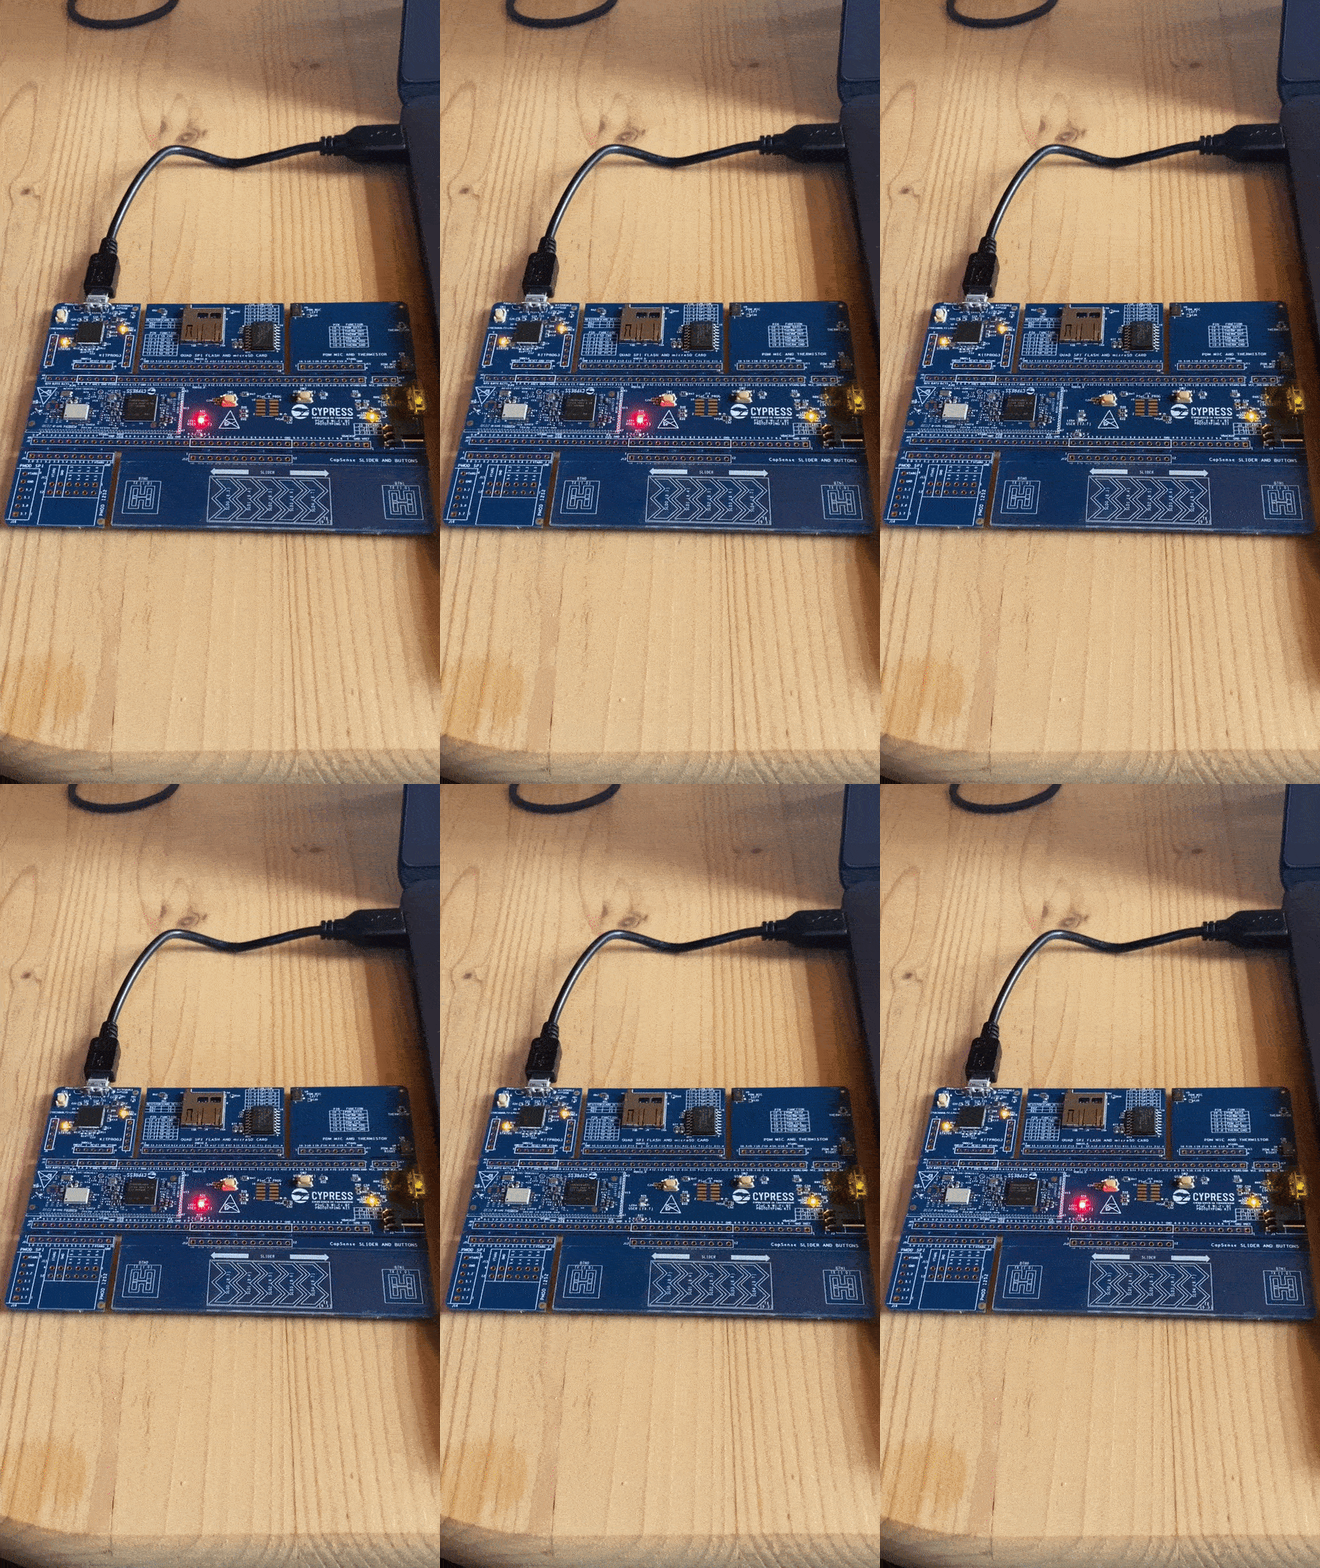
Congratulations, you successfully finished the PSOC6 and IDE setup!