Flauschi - the WLED powered Ghost
2021-12-17 #Blog | #IoT | #WLED | #kidstech
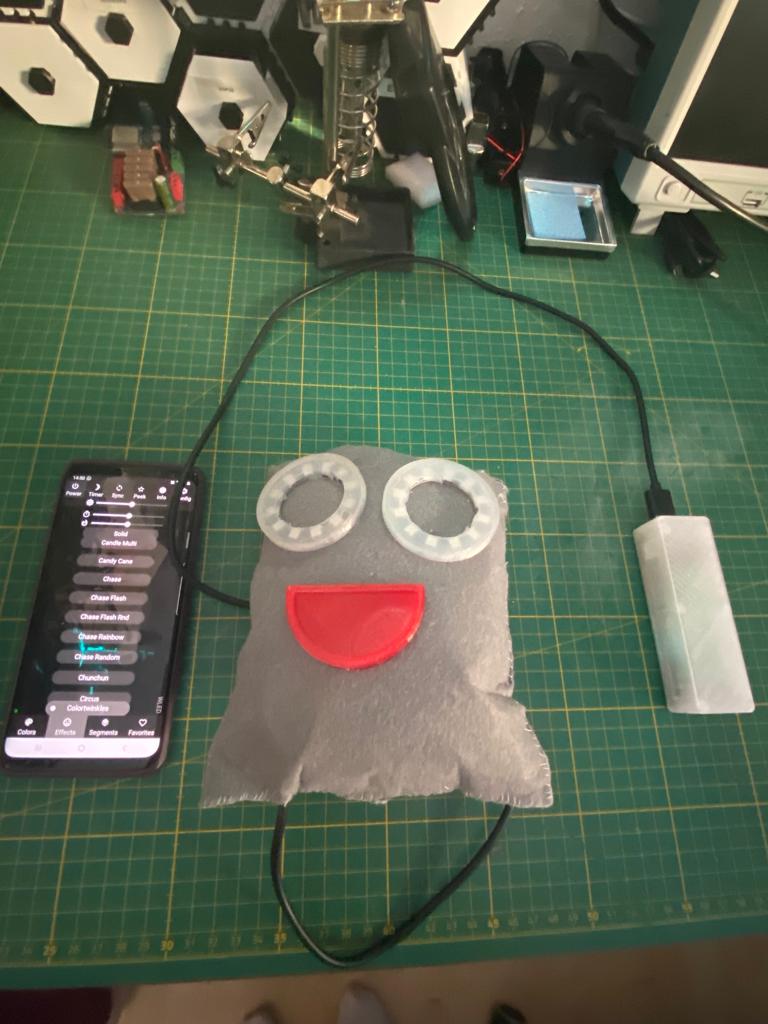
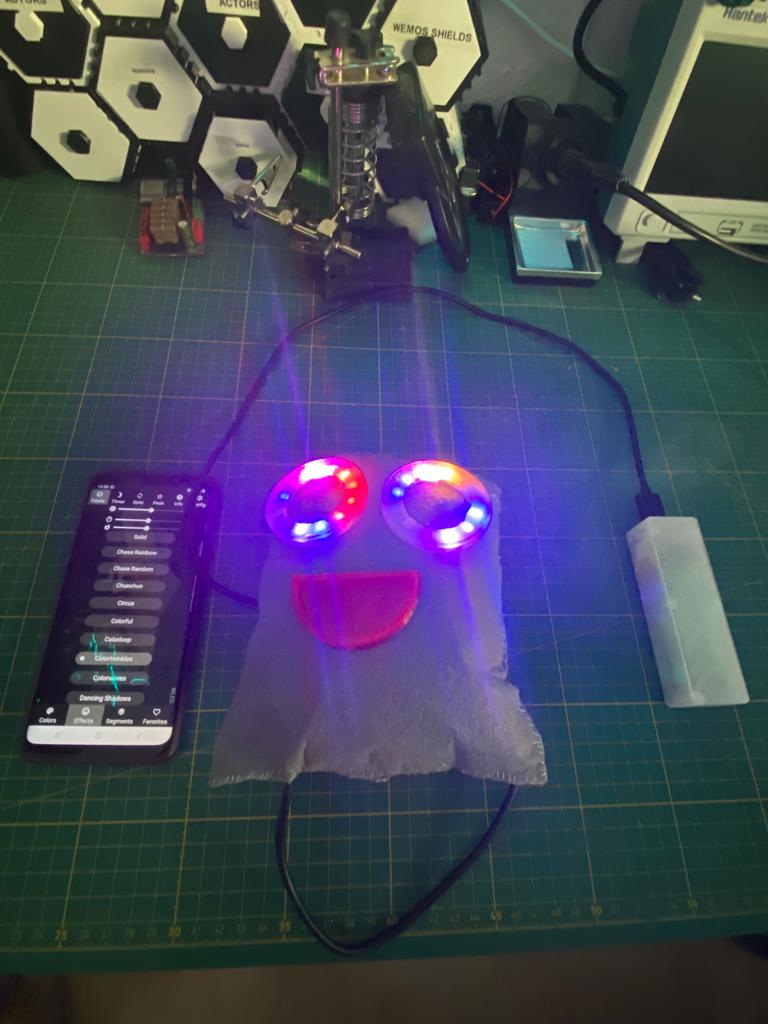
After assembling a WLED powered XMas lighting, my daughter Tamara asked me if we can do something with LEDs. So, after searching in the IoT surprise box, we found LED rings and then the idea come up to create Flauschi, the Ghost with the shining eyes.
Thanks to the WLED library it simple to control the light of Flauschi’s eyes and you can integrate Flauschi into your home automation, etc. More information on WLED you can find here.
What hardware do you need?
- ESP8266 / ESP32 board of your choice (would recommend to use Wemos Mini)
- Wires, solder and soldering iron
- 2 pieces of LED rings
- 3d printer and a bit of red and transparent filament
- Felt sheets
- Needle and thread
- Super glue
- Cotton wool
- Hot glue gun
Creating Flauschi
- Cut 2 felt sheets in form
- Position the LED rings as eyes, cut holes accordingly and move the wires into the holes
- Print with transparent filament the diffusers for the LEDs. Here you can find a version for a 12 LED ring
- Print with red filament the mouth. Here you can find the mouth
- Solder the led rings and the ESP together according to wiring. Keep an eye on the DIN and DOUT port usage of the LED ring, otherwise it won’t light. The Standard PIN for the digital control signal of the LED is PIN 2 on the ESP. Solder the 5V to VCC and GND to GND and also the data PIN.
- Flash WLED => follow the instructions. Recommended method is to flash it directly via browser. This is easy going :)
- After Flashing, connect to the WLED-AP and configure your Wifi settings and then test the functionality
- If everything works, take a hot glue gun and fix the ESP and the wiring on the back of the felt sheet. Add also an usb cable and fix it with the hot glue => this you can use as power connection via USB (other options possible of course). Then glue the diffusers on the LED shields and glue both on the felt.
- Take the printed mouth and glue it on the felt
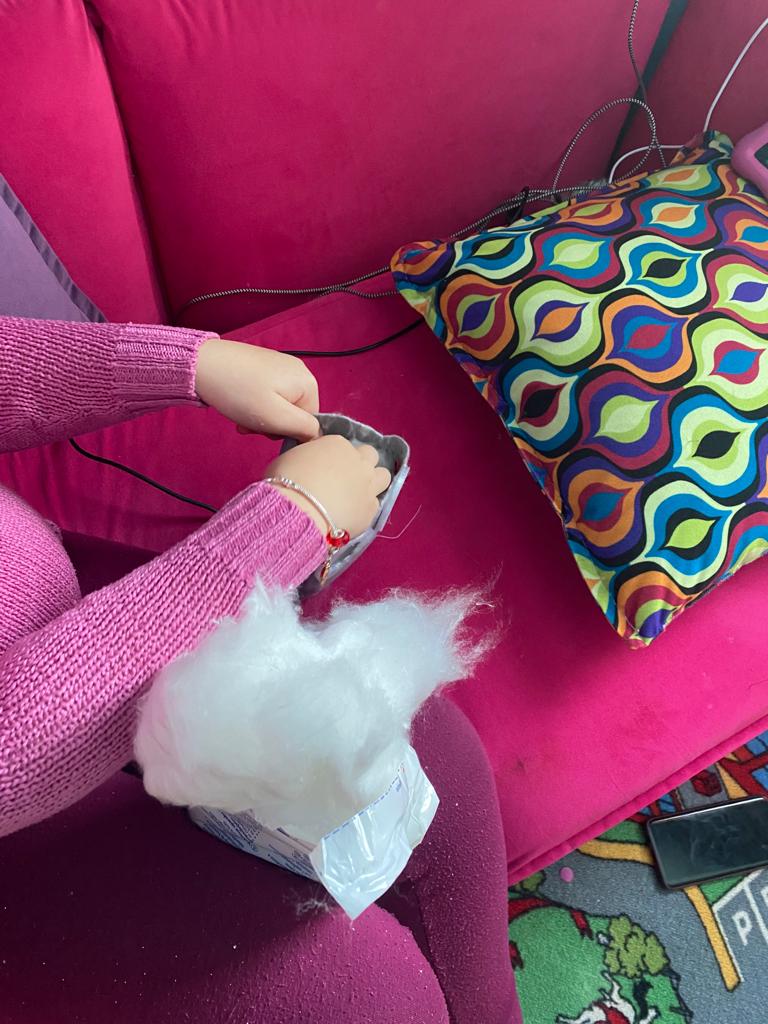
- Now it is time for sewing the two felts together and leave on side open for filling with cotton wool
- Fill Flauschi with cotton wool
- Sew the last side and ensure that the USB cable comes out of Flauschi
- Connect the USB cable to a power source (Powerbank, etc.) and check if the eyes are shining bright
- Congratulations your Flauschi is alive
In order to double up the speed and enjoying building things together, my daughter did the creative and material work and I did the soldering and flashing part. It was a great time building Flauschi together.
Here you’ll find a few impressions. Hope you like it and now it’s your turn to create your personal Flauschi!


