Lora MQTT Gateway
2021-03-06 #Blog | #LoRa | #LoRaGateway
LoRa (Long Range) is a proprietary low-power wide-area network modulation technique based on spread spectrum modulation techniques derived from chirp spread spectrum (CSS) technology. More information on that can be found in Wikipedia. This protocol can be utilized to create small private LoRa networks or one can use the TTS (=The Think Stack) to utilize LoRaWan. In this post, I would like to show you how one can made a LoRa Client (=Sender) and a LoRa Gateway which will publish the incoming messages into a defined #MQTT channel using a local WiFi connection. The solution is using AES-128 encryption on top LoRa and uses a defined message format.
What hardware do you need?
- 2 ESP32 based TTGO LoRa32 V2.1 _ 1,6 version 433/868/915 Mhz ESP32 LoRa OLED 0,96 Inch SD Karte Bluetooth WIFI wireless Modul ESP-32 SMA
Platform
You need one running MQTT broker. You can find a guide here.
Architecture overview
Before we come to the implementation of the client and the gateway, let’s check what we would like to build.
As you can see in the drawing, the LoRa client can be used to gather sensor data and send them via LoRa to the gateway in a secure way. The gateway will then forward the message to the local MQTT broker via WiFi. The consumers will then be able to get the information from the defined MQTT channel. Awesome, right?
We are going to create a firmware for the LoRa client and the LoRa gateway in order to communicate to each other via LoRa. As LoRa is a public channel, everyone can send messages and of course, receive messages within the defined frequency band. So, if you do not secure your information, this can be read easily be everyone in (best case) around 15 km! With this in mind, both parties are using AES-128 encryption with a shared secret key.
Message format
Based on the idea from Alex (see his post) the message is in the following format
LORACLIENTNAME<DELIMITER>DATAATTRIBUT1<DELIMITER><DATAATTRIUB2><DELIMITER><...><DELIMITER>
The provided client sample will send a message with following format:
LORACLIENT01#Hello World!#
Lora Client
The client code can be found here.
Side note: This will give you a rough overview about the software steps. In case you have not yet programmed in Arduino Studio and no experience there are several tutorials out there like e.g. randomnerdtutorial.
- Download the sample sketch
- Open the sketch with Arduino Studio
- Add your ENCRYPTION KEY and define your Client ID
- Select the correct hardware board = TTGO LoRa32 OLED V1
- Connect the board with your PC
- Select the correct serial port
- Upload the firmware
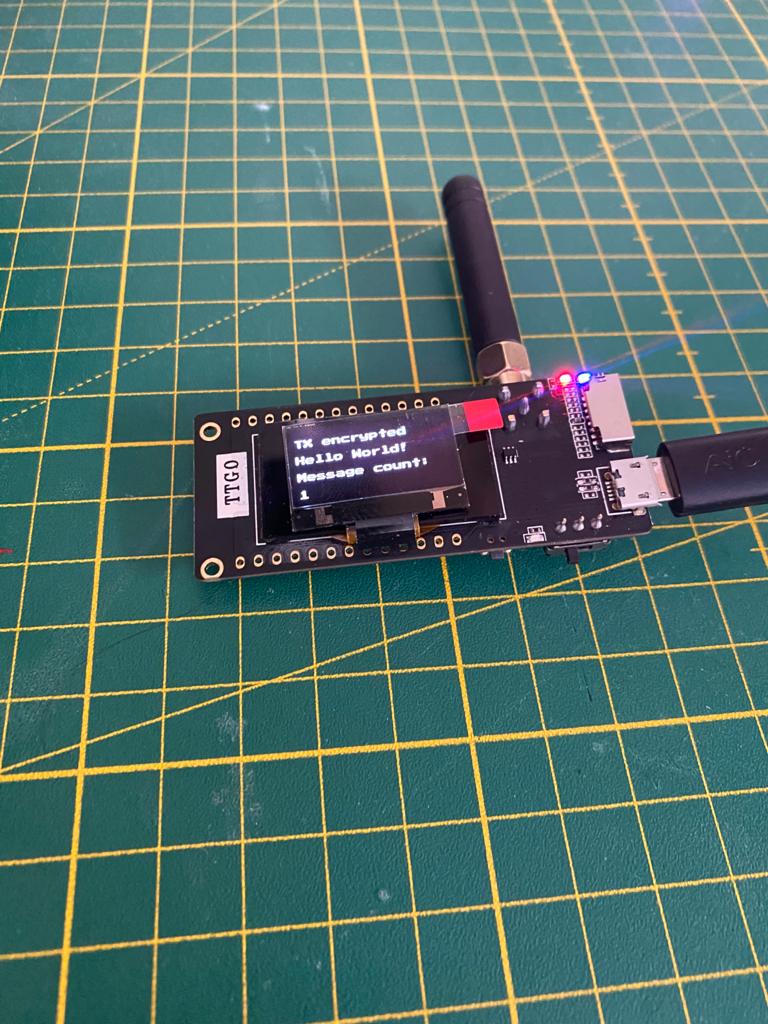
After uploading the client will connect to LoRa and start sending messages. The status should look somewhat like this:

Lora Gateway
The client code can be found here.
- Download the sample sketch
- Open the sketch with Arduino Studio
- Add the needed information like WiFi SSID, creds, aso. in secrets.h and ensure that you are using the same ENCRYPTION KEY than the client (otherwise the messages cannot be decrypted)
- Select the correct hardware board = TTGO LoRa32 OLED V1
- Connect the board with your PC
- Select the correct serial port
- Upload the firmware
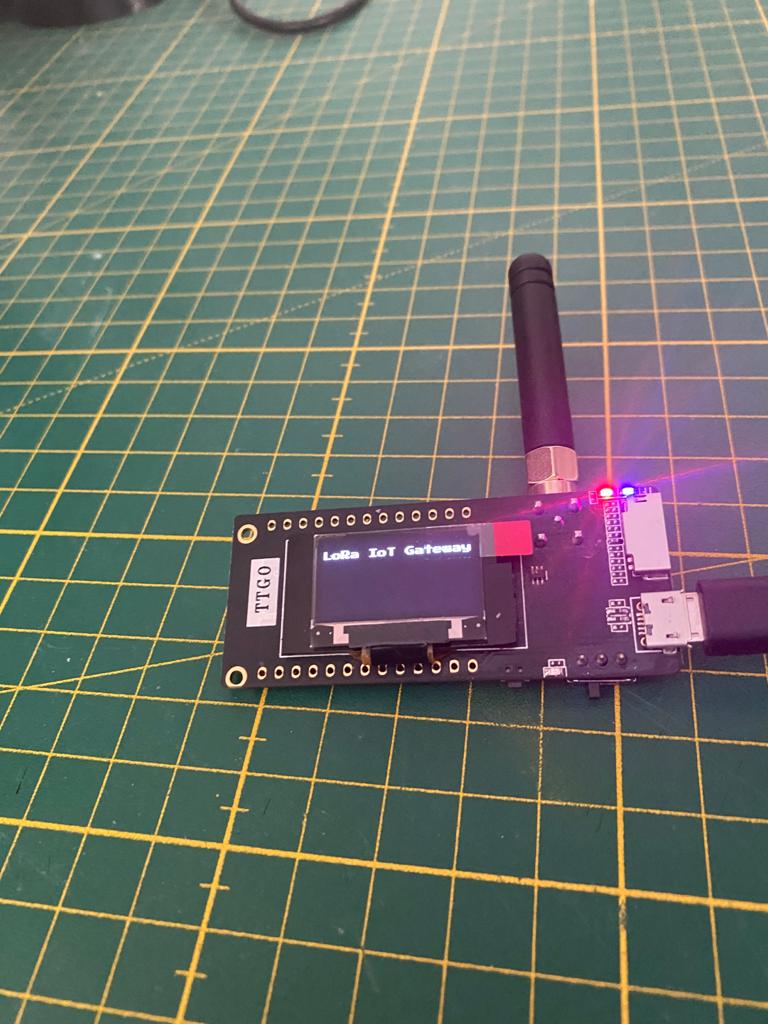
After uploading the client will connect to the defined WiFi, to MQTT borker and LoRa and will start to publish messages if there are any to forward.

Result
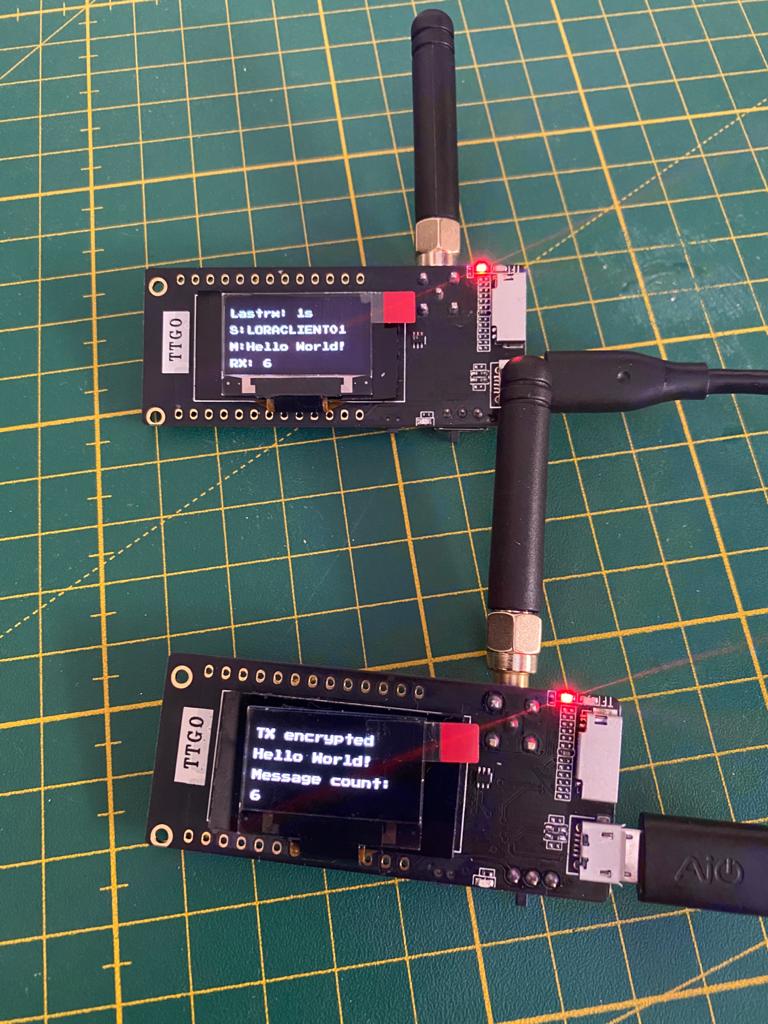
The client will send in a defined interval “Hello World!” and increase the message counter. You can see this on the display on the client. The gateway will receive the message, decrypt it and forward the message to the MQTT broker and display the message a receive counter and the sender on the display.

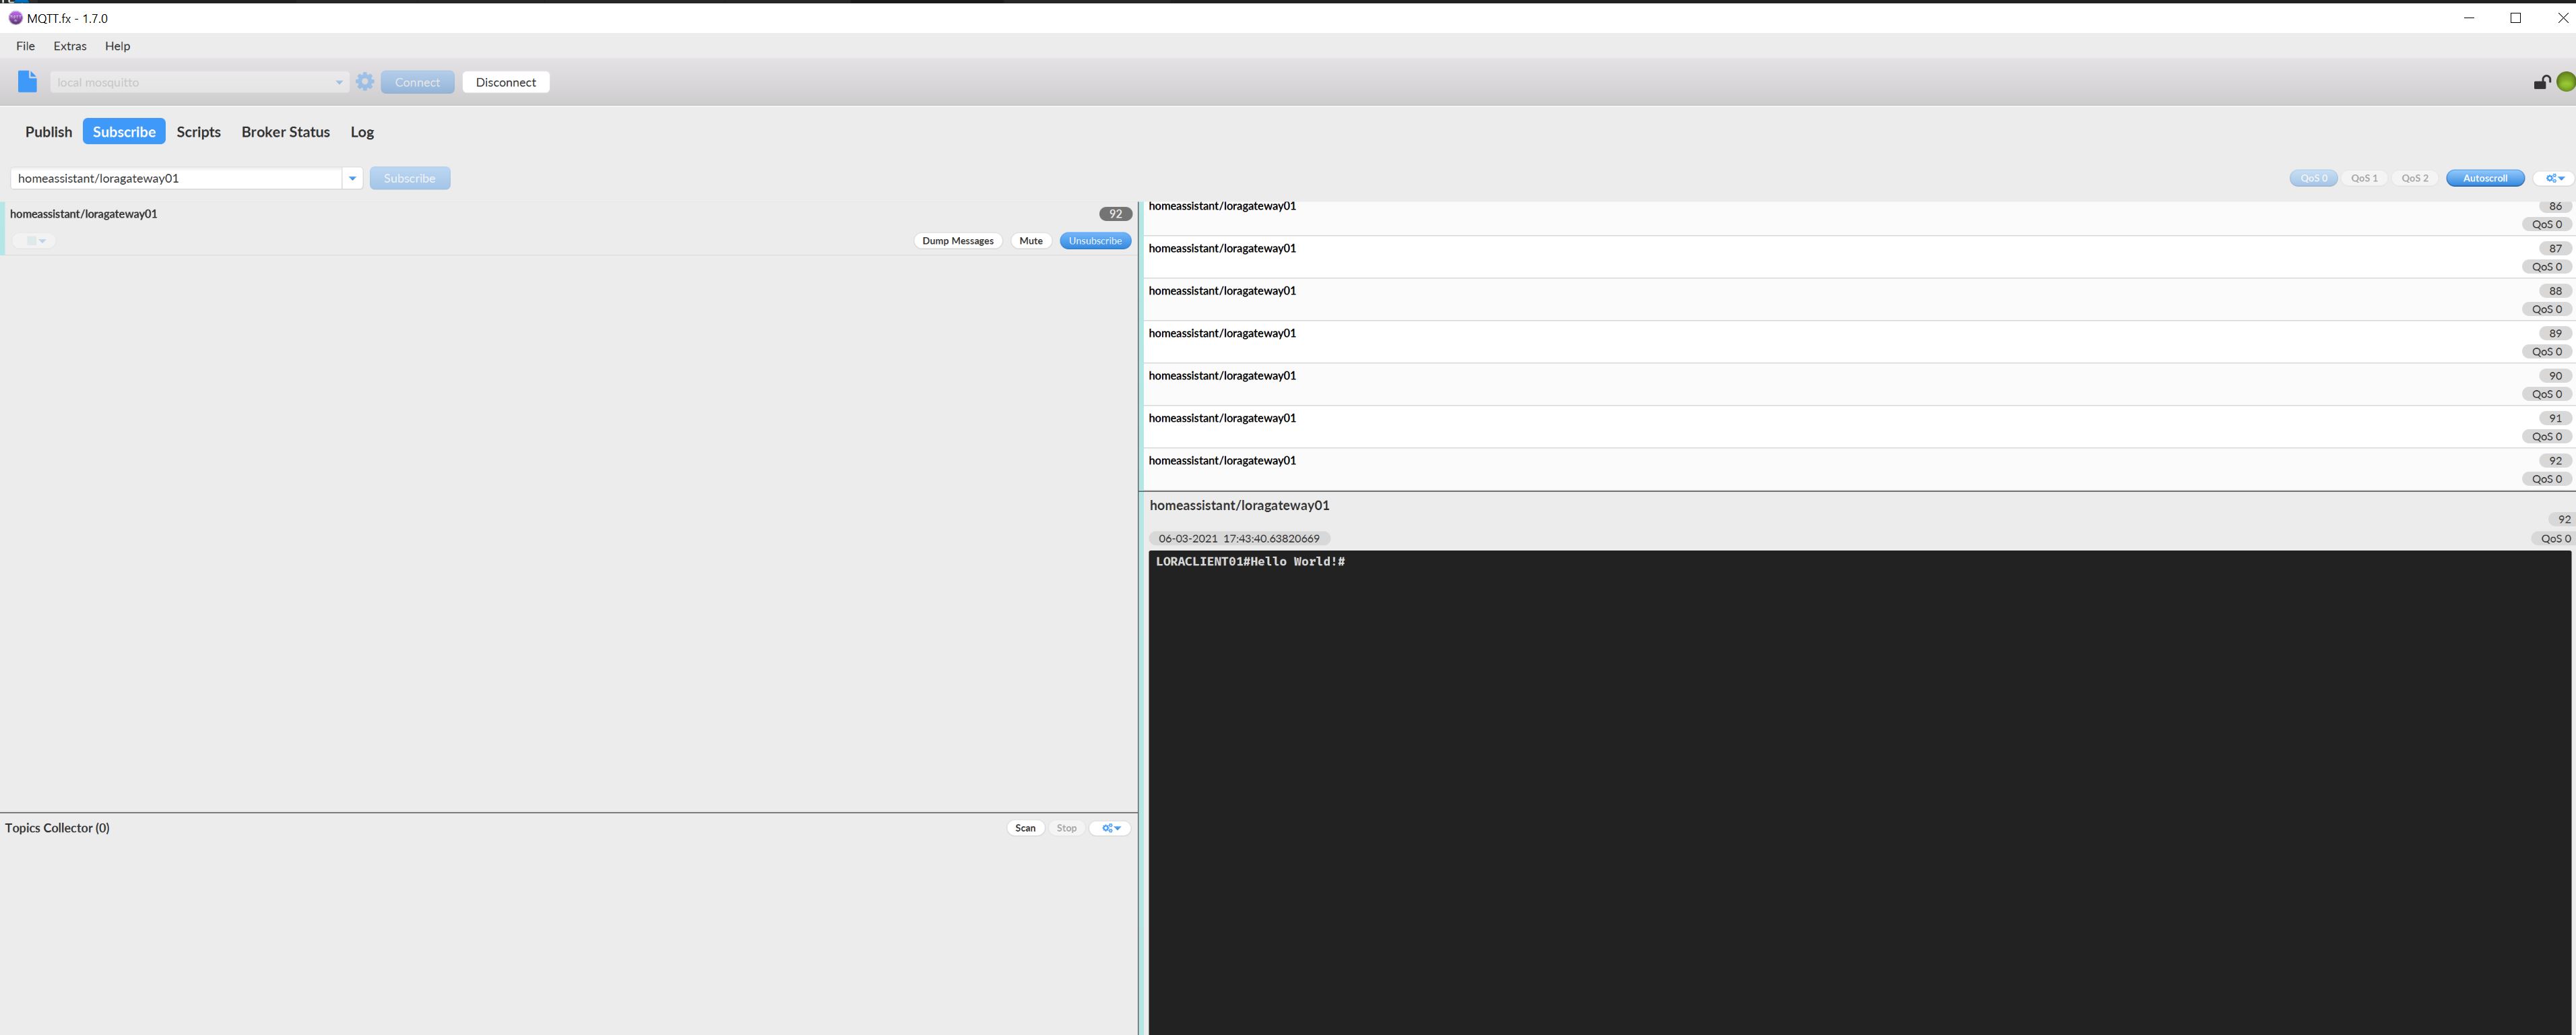
In order to check if you also receive MQTT messages you can use MQTT.fx, connect to the broker and subscribe to your defined LoRa gateway channel.
