Door/Window Sensor
2021-03-04 #Blog | #Windowsensor
Do you want to create your own door/window sensor and add to #HomeAssistant.
Great! So, here we go!

What hardware do you need?
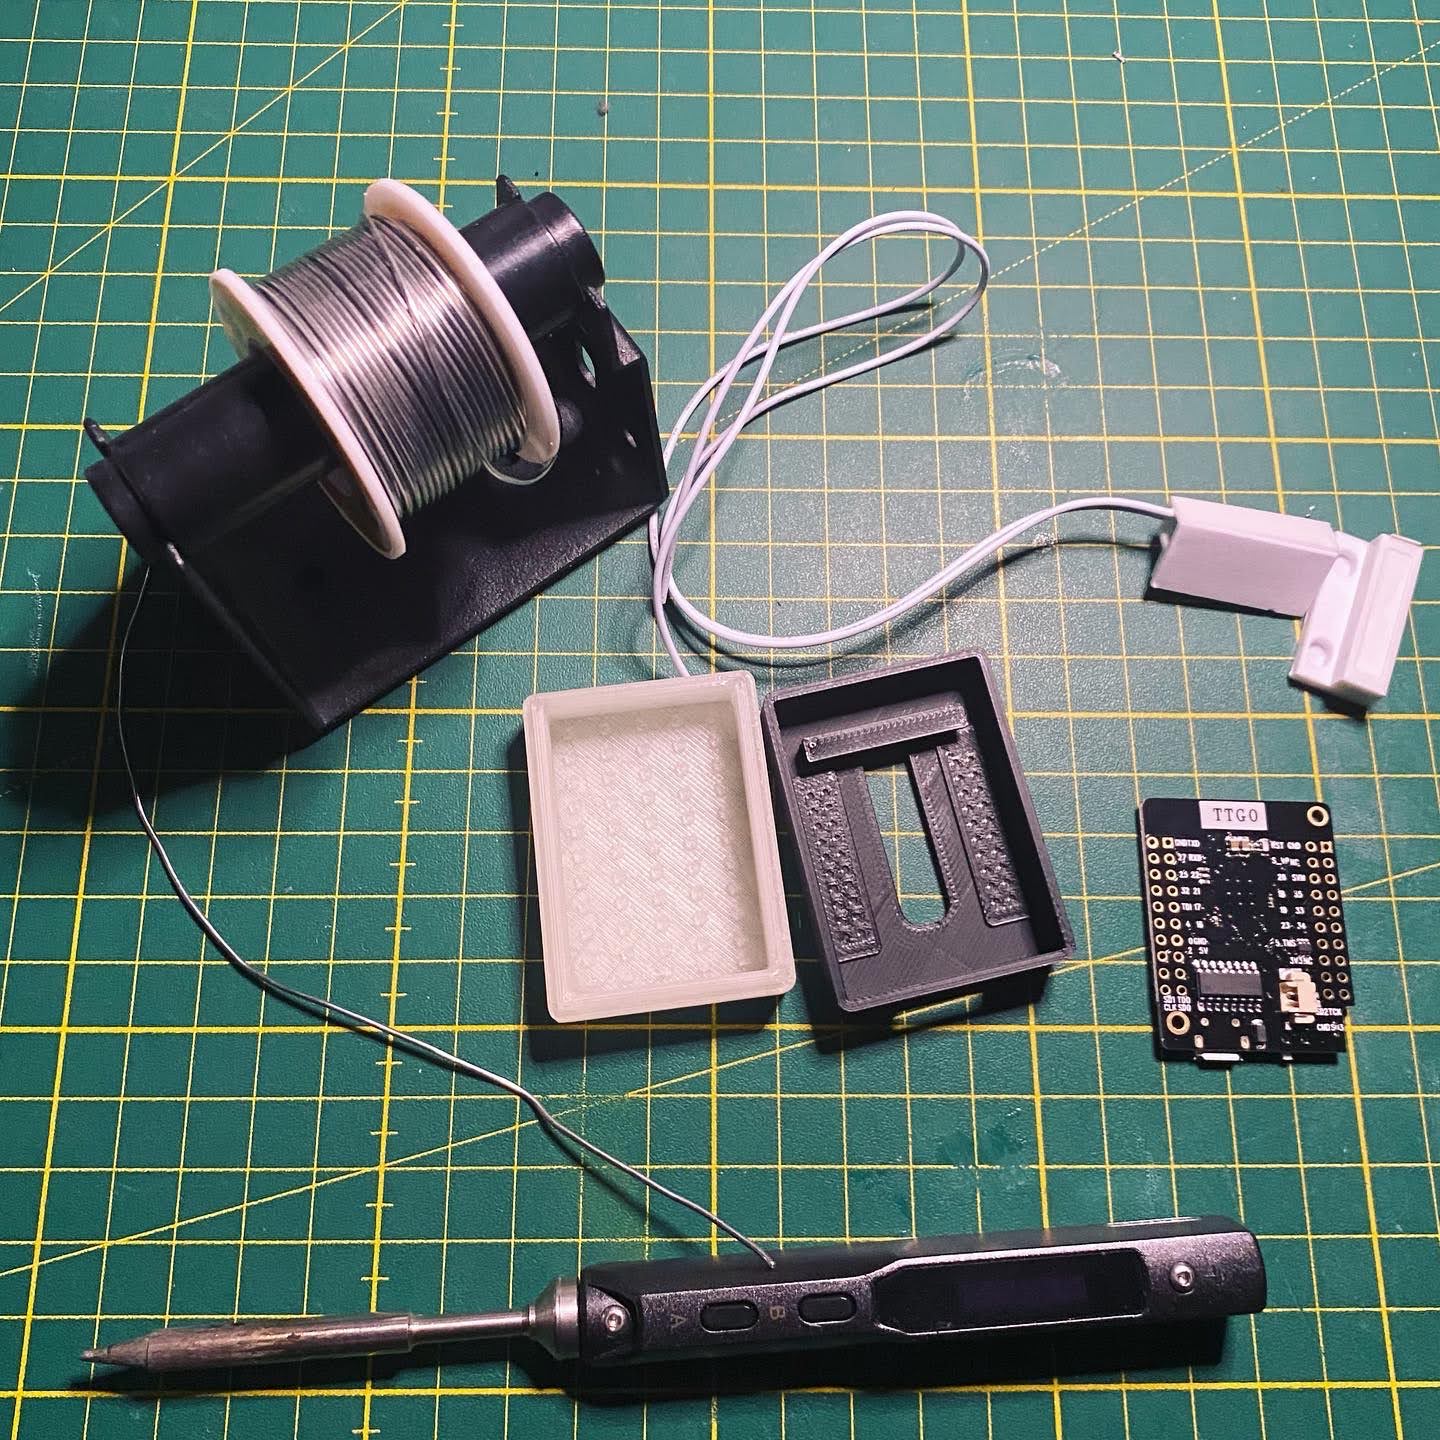
- ESP8266 or ESP32 based board (ideally in the form factor of a WEMOS or TTGO mini)
- Reed Switch
- 3D Printed case
Hardware - Put the stuff together
- Solder the reed switch to the ESP board => one end to the 3.3V PIN, the other to a GPIO PIN (e.g. PIN 16)
- (Modify) and print the case from Tinkercad and put the board in
Platform - Home Assistant
In order to run the whole thing, you need to have a running Home Assistant instance including MQTT broker. You can find several guides and howto’s like this one in the net.
Software - flash the controller
Side note: This will give you a rough overview about the software steps. In case you have not yet programmed in Arduino Studio and no experience there are several tutorials out there like e.g. randomnerdtutorial.
- Download the sample sketch from github.
- Open the sketch with Arduino Studio
- Open the secrets.h file and add your wifi credentials and mqtt connection details
- Select the correct hardware board (e.g. WEMOS D1 Mini ESP32)
- Connect the board with your PC
- Select the correct serial port
- Upload the firmware
Mount the hardware and test
Now mount the hardware near the window in order that the switch has contact when window is closed and no contact when the window is open. Try if the defined mqtt channel receives signal, when there is no contact and when there is contact. To do this, you just need to run a MQTT software like MQTT.fx, connect to the broker and subscribe to the corresponding channel. If everything is configured properly then you’ll receive the JSON messages. In case you don’t receive messages, you have to check the wiring as well as the configuration parameters in your secrets.h. Furthermore, you can connect to the controller via putty and check the serial print for more information, add debug information to the software, etc.
Home Assistant configuration
If all works well and you receive messages in the defined channel, you can do the last steps in order to add the sensor to your smart home platform.
Open the configuration.yaml of your Home Assistant instance and add following sensor to the sensor configuration:
  - platform: mqtt
    name: "YOUR WINDOW/DOOR SENSOR NAME"
    state_topic: "homeassistant/doorzone1/alarm"
    value_template: 'Window '
After that restart your Home Assistant.
Then add the sensor to your Dashboard and you’ll see something like this:

Congratulations, you created your own window/door sensor!