LoRa Wan Gateway and The Things Stack
2021-03-13 #Blog | #LoRaWan | #LoRaWanGateway
In the post “Lora MQTT Gateway” it was shown how to create a LoRa application scenario using 2 TTGO’s as gateway and sender and consume messages using #MQTT. As LoRa offers a lot of possibilities and once you dig in deeper, you’ll come to TheThingsStack network and this offers a lot of ideas and possibilities. The Things Stack project is community driven and a great way to make the #LoRaWan technology public available. So, the decision was made to place a public #LoRaWanGateway in Nötsch im Gailtal.
What is LoRaWan?
According to the LoRa Alliance: “LoRaWAN® network architecture is deployed in a star-of-stars topology in which gateways relay messages between end-devices and a central network server. The gateways are connected to the network server via standard IP connections and act as a transparent bridge, simply converting RF packets to IP packets and vice versa. The wireless communication takes advantage of the Long Range characteristics of the LoRaÒ physical layer, allowing a single-hop link between the end-device and one or many gateways. All modes are capable of bi-directional communication, and there is support for multicast addressing groups to make efficient use of spectrum during tasks such as Firmware Over-The-Air (FOTA) upgrades or other mass distribution messages.”
You can find more information here.
What hardware is used
- Gateway
- MikroTik wAP LR08
- Antenna kit for LoRa
- Sender
- TGO LoRa32 V2.1 _ 1,6 version 433/868/915 Mhz ESP32 LoRa OLED 0,96 Inch SD Karte Bluetooth WIFI wireless Modul ESP-32 SMA
The hardware rollout
The LoRaWan router is powered using Power-over-Ethernet (POE). The first step was to configure the network. As the LoRa gateway will be available for public use, I seperate port on the Layer-3 switch using port isolation was used to connect this router. Furthermore, a new VLAN network was created and POE passive activated. After the configuration the “hard” part started.
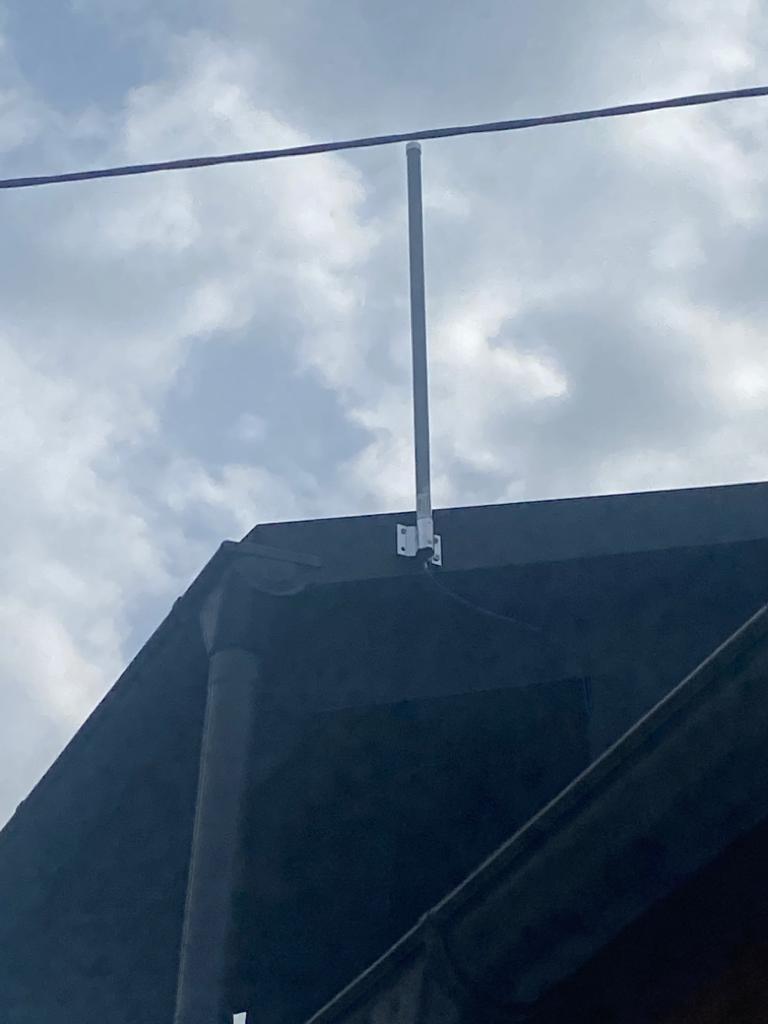
- Mount of the Antenna Antenne was mounted at the roof.

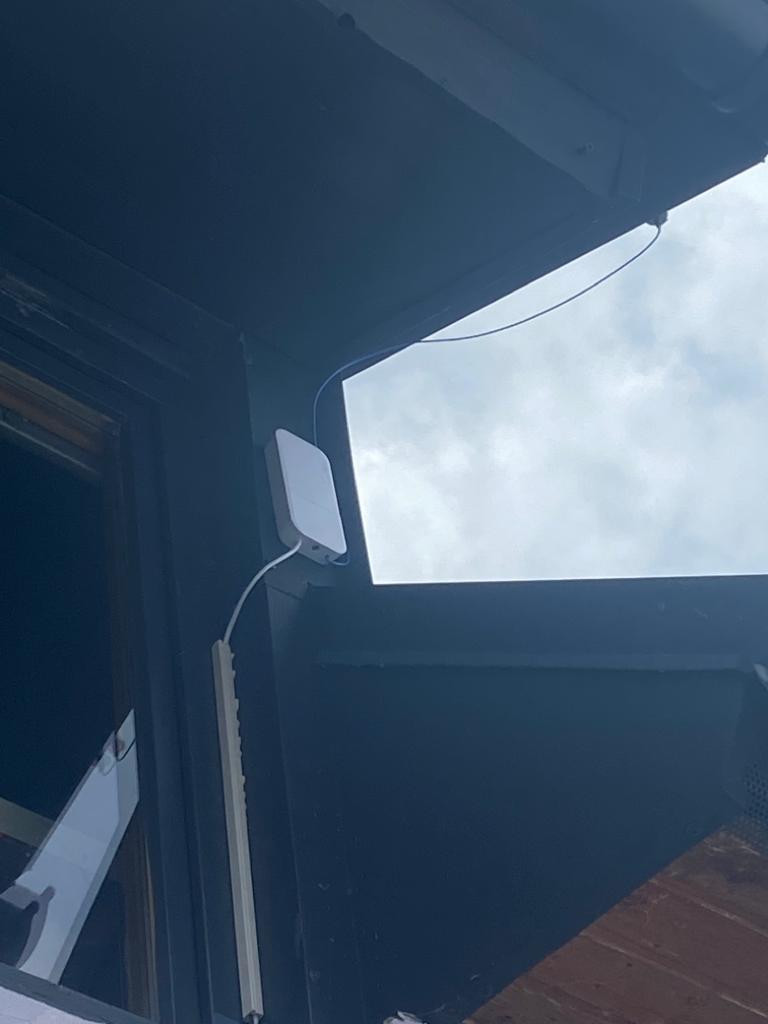
- Mount of the Router Before mounting the router a whole was drilled in the wall in order to put the network cable through. Using a cable channel the Ethernet cable was guided to the router.

Gateway configuration
The configuration the gateway is described in the official documentation of TTS or if you prefer videos I can highly recommend the videos from Alex(AEQWeb)[german].
MikroTIK
Once the router is powered on, you can connect to the network interface and configure this accordingly.
The Thing Stack (TTS)
The configuration can be done using TTS Console. Here you have to add the gateway information and do the neccessary configuration.
Test the communication with a #LoRaWAN client
The client code can be found here.
Side note: This will give you a rough overview about the software steps. In case you have not yet programmed in Arduino Studio and no experience there are several tutorials out there like e.g. randomnerdtutorial.
- Download the sample sketch
- Open the sketch with Arduino Studio
- Change FILLMEIN with the correct data of your sender
- define the correct PINS for your hardware board
- Select the correct hardware board = TTGO LoRa32 OLED V1
- Connect the board with your PC
- Select the correct serial port
- Upload the firmware
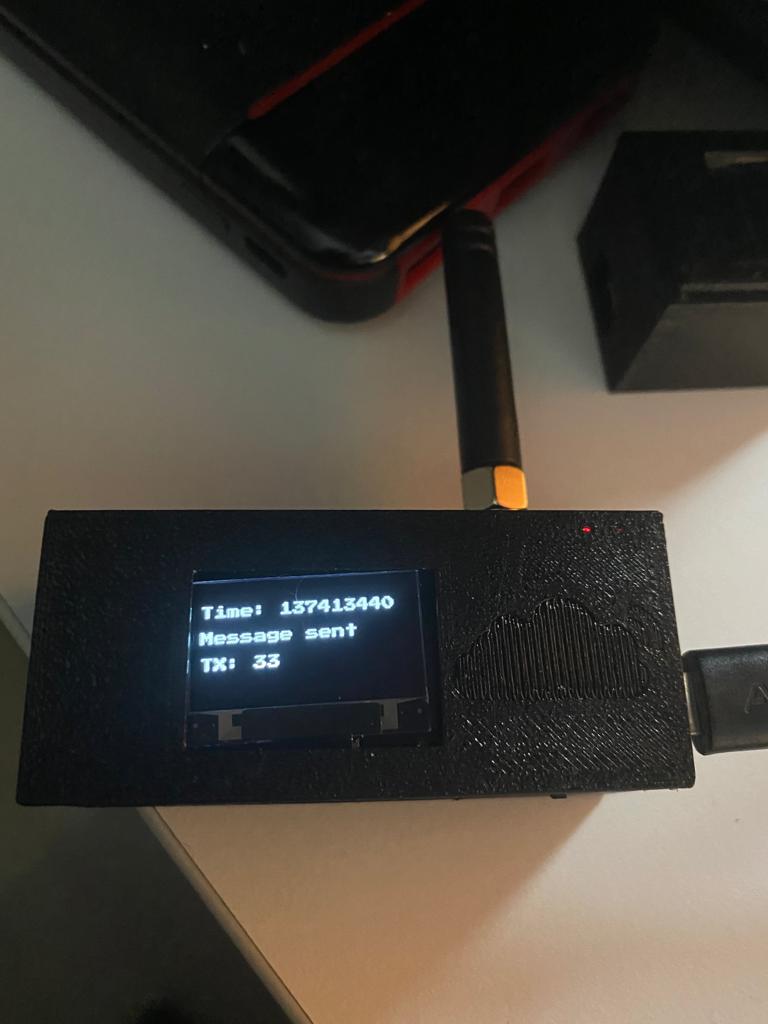
After uploading the client will connect to LoRa and start sending messages. The status should look somewhat like this:
Information how the device casing was created can be found at Instagram.

And you should retrieve the information in your router and in the TTS console:
Gateway is public available
The gateway is now up-running and available for public use. Subesequently, range tests will follow. Wish you a lot of fun and learning using #LoRaWan!